Zendesk Agent Workspace enables agents to manage Support and Chat/Messaging conversations within the same interface, and you can translate both channels using the same Unbabel app!
Unbabel for Zendesk Support is publicly available in the marketplace, and you can install it in your Zendesk instance.
It is important that you inform customer.happiness@unbabel.com or your account manager whether you have Agent Workspace enabled, so we can enable proper compatibility.
Zendesk Agent Workspace vs Standard Agent Interface
Choosing whether to use Agent workspace or the classic Standard Agent Interface will depend on your Zendesk plan and business priority or decision.
Administrators can enable or disable Agent Workspace for their Zendesk account provided this is commercially available for the instance.
To enable Agent Workspace:
- Click the Admin icon () in the sidebar, then select mov to the Admin Center.
- Find the Workspaces section, select Agent Workspace and check Turn on Agent Workspace.
-
Save your changes.
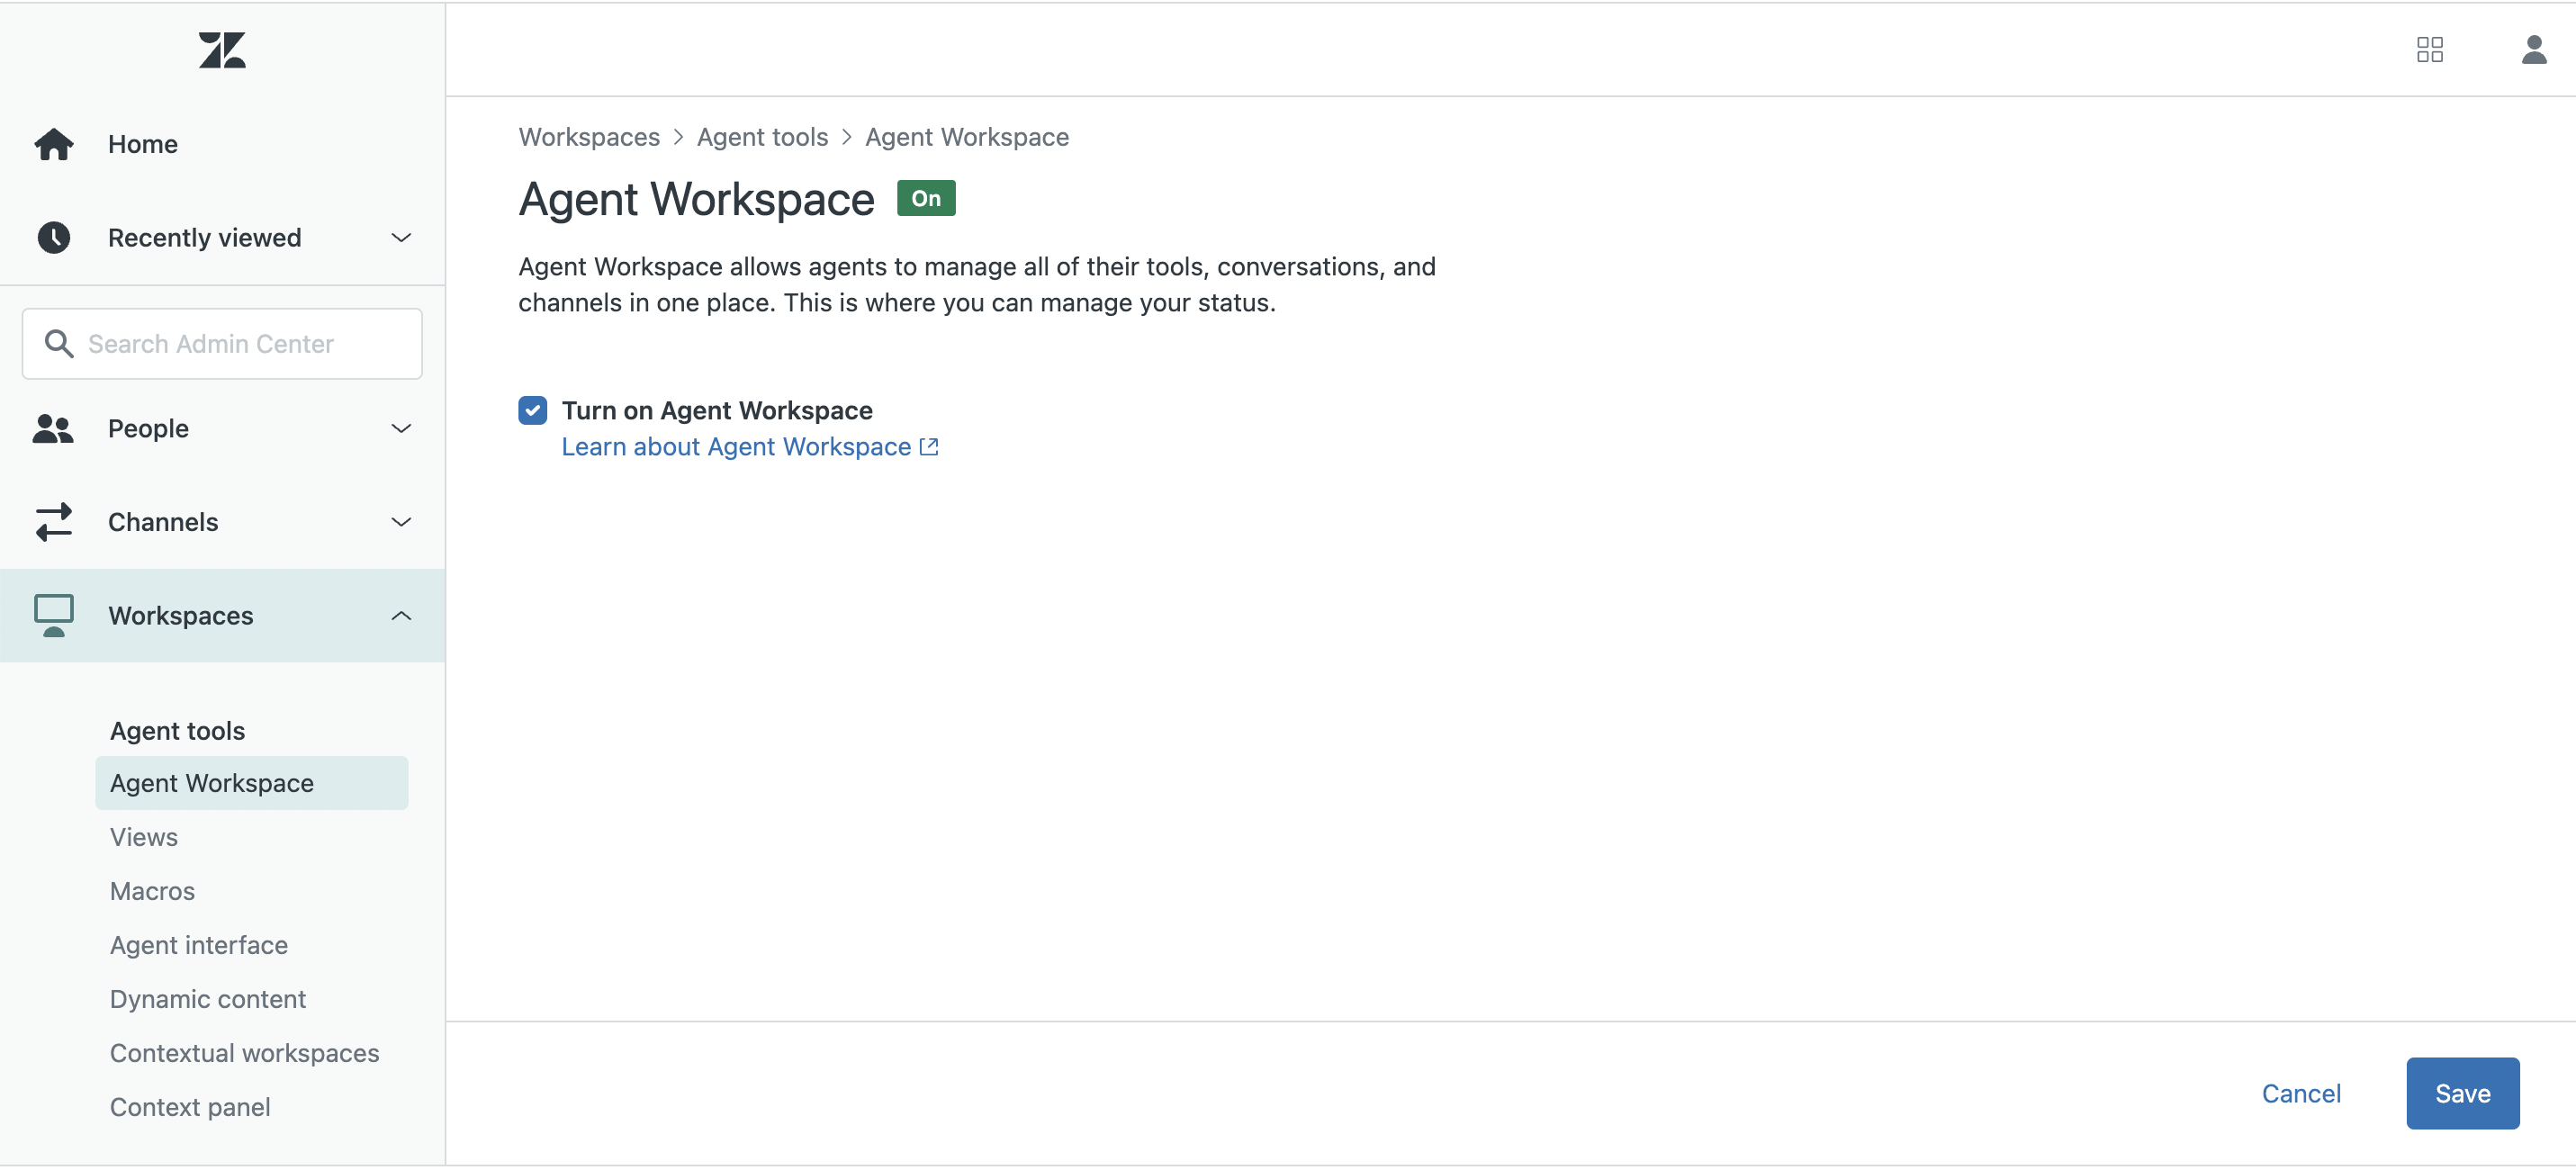
To prevent application conflicts and potential tracking issues, Zendesk does not recommend using the Support Chat app with the Zendesk Agent Workspace.
When Agent Workspace is enabled, the Support Chat app is automatically disabled on your account. If you subsequently disable the agent workspace and you want to use the Chat app, you have to manually re-
enable it.
For more information on how to enable Zendesk Agent Workspace, visit the Zendesk article on the subject.
Some pre-requisites
To be able to install Unbabel for Zendesk Support, you need to be a Zendesk Admin for the instance and also have an Unbabel Customer Portal account created and validated.
It is also important that, should you be using any sort of IP restrictions or filtering in the instance, that you allow the Unbabel IPs and domains before starting the installation. Check with your LangOps specialist or customer.happiness@unbabel.com how to obtain them, and inform any Unbabel party should you have them.
Installation
To install our integration, please follow these steps:
2- Click install, select the instance where to install and click the button again
3- Again, click Install in the App Settings window
4- Open an existing ticket and find the Unbabel applet on the right
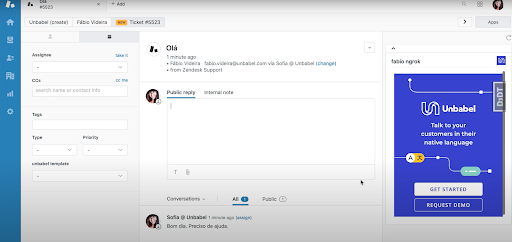
5- Click on Get Started.
6- You’ll be prompted to login with your Unbabel Portal credentials. If you are not able to login, you may either (1) not have a valid Portal account (2) be using the wrong credentials (3) have a different problem with the account. Check this article to attempt a fix.
Note: at this stage, you should have the credentials ready but not be logged in to the Portal.
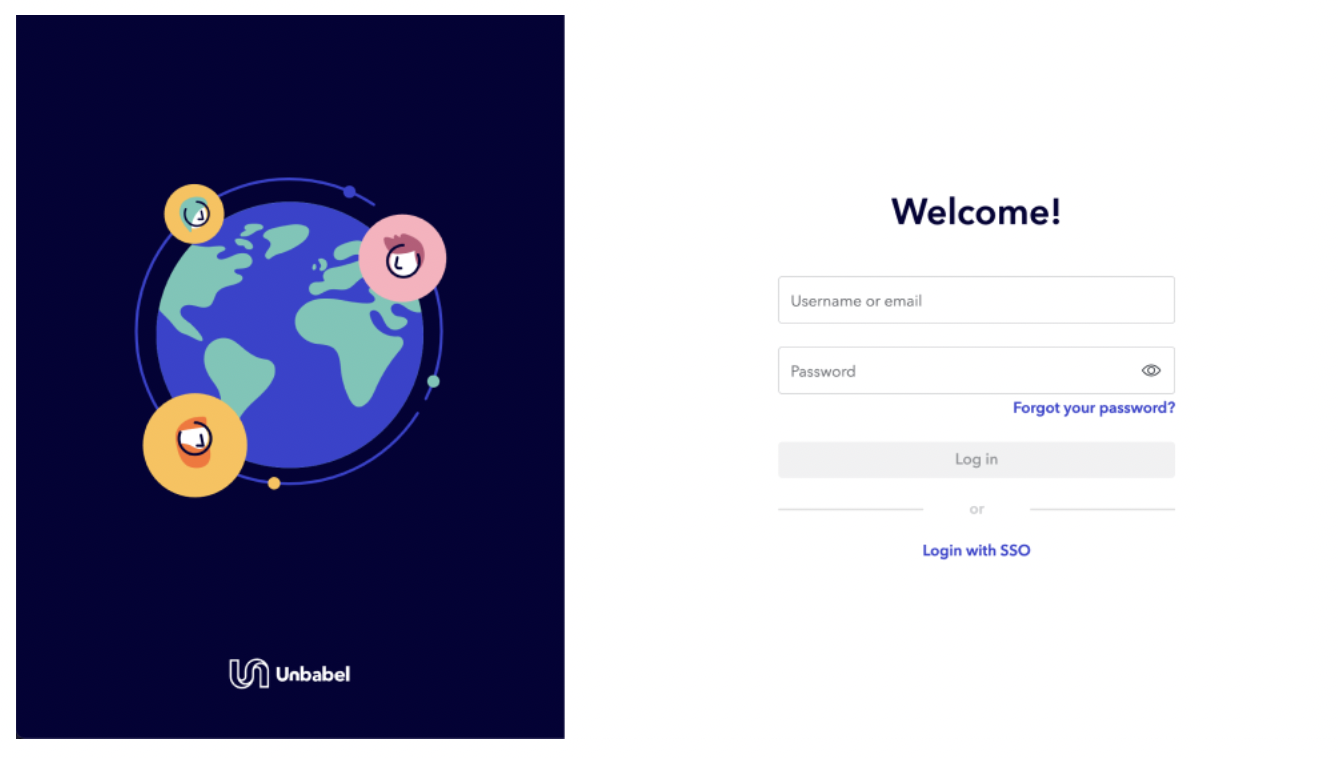
7- Once logged in, the 2-step process to authorize Unbabel access to Zendesk will show on the Portal. Click “Authorize” to proceed to step 2.
8- The system will count the number of agents available on the CRM. You can authorize all agents to use Unbabel. Agent authorizations can be changed and managed later as well.
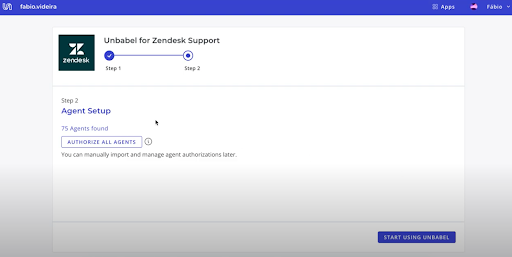
10- Click “Start using Unbabel” to complete the process.
We’ll take you back to the ticket where you first started and your setup is completed!
UAT testing
After you complete your configuration, you must conduct UAT by validating some key features as described in our UAT plan. Download the file attached to this article to access the test plan.
Please download the file corresponding to the channels you are using:
- UAT Zendesk Support.xlsx (Email, no Agent Workspace)
- UAT Zendesk Agent Workspace - Email.xlsx (Email w/ Agent Workspace)
- UAT Zendesk Agent Workspace - Messaging:Chat.xlsx (Chat or Messaging w/ Agent Workspace)
- UAT Zendesk Agent Workspace - Email:Chat.xlsx (Email + Chat or Messaging w/ Agent Workspace)
Obtain the password to unlock the file from your POC at Unbabel.
